Nothing says ‘party’ quite like brine shrimp – these tiny dynamos really know how to reproduce and turn every mundane water globule into a raving shrimpfest. From fancy cyst footwork during mating to the evolution of eggs into larvae, understanding the lifecycle of these shrimpy stars is downright fascinating.
But, just like any fabulous party, what goes in makes all the difference. Whether you’re sourcing top-tier brine shrimp eggs or setting up your own hatchery, making the right choices is key to cultivating a thriving shrimp colony. Stay tuned for an easy-to-follow guide ranging from selecting supplies, setting up your hatchery, hatching eggs, after-care, to expanding your shrimp family, all presented in bite-sized, shrimpy hilarity. You’re about to become a certified shrimp party planner!
Understanding the Life Cycle
Before diving into the world of brine shrimp hatching, it’s crucial to have a solid grasp of their life cycle. Knowing the process from start to finish just makes everything feel less like rocket science.
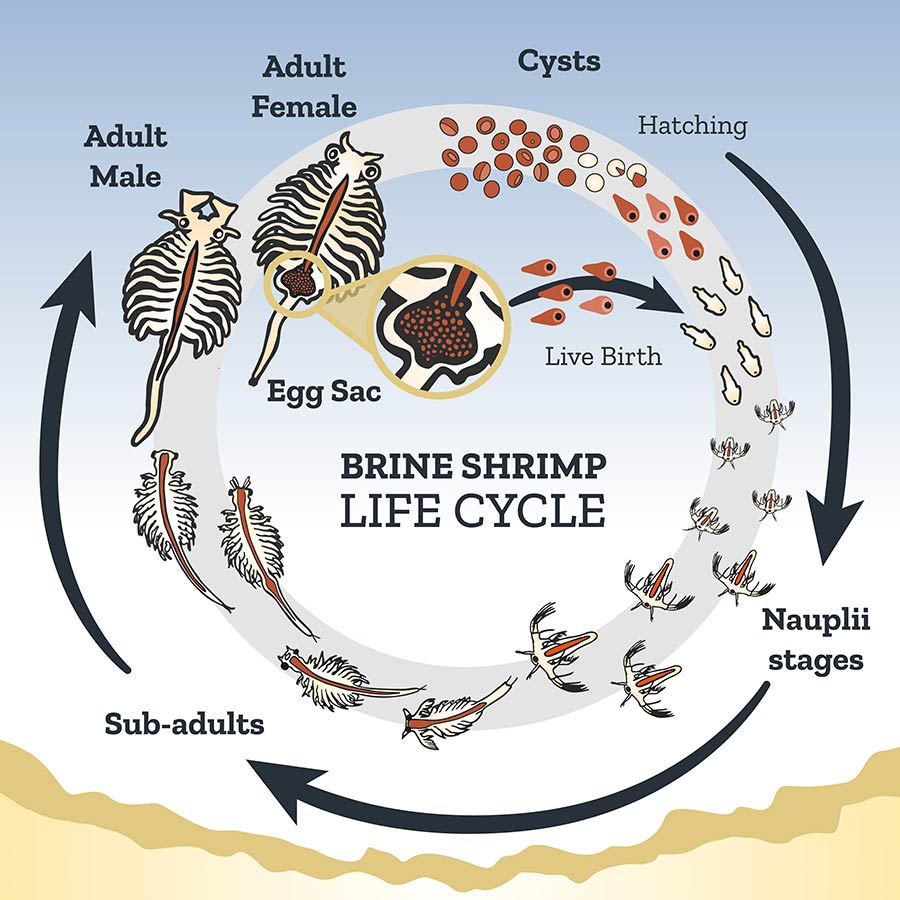
From Eggs to Larvae: How Brine Shrimp Evolve
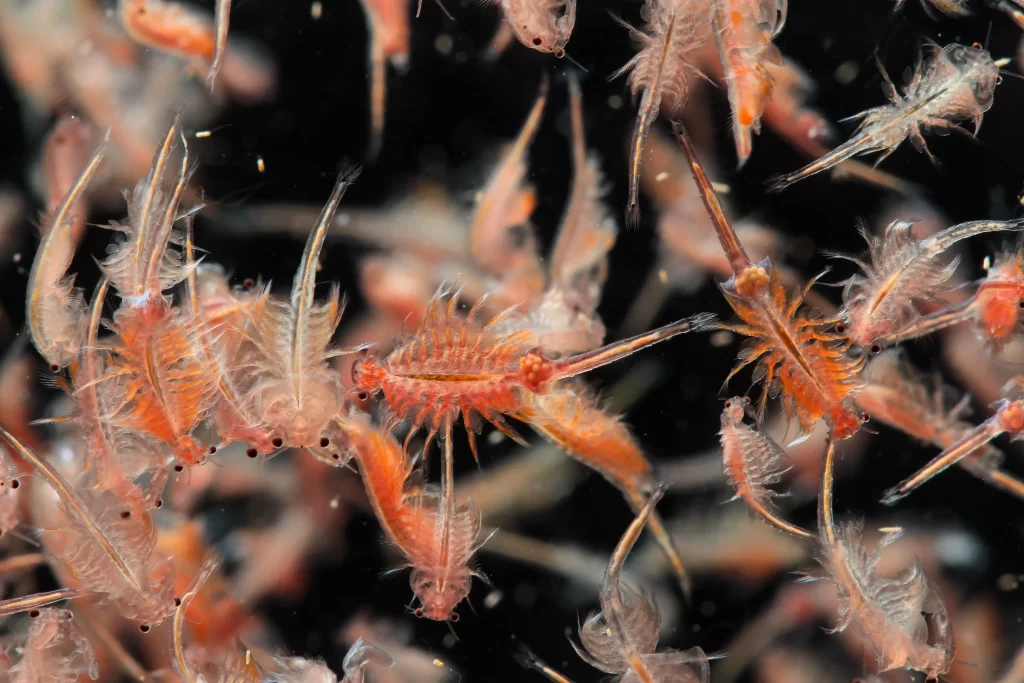
Think of brine shrimp like those instant noodles in your pantry. Start with the eggs (dormant cysts), add some saltwater, and voila! You’ve got brine shrimp larvae (nauplii) in 24 to 48 hours. It’s like magic, but more aquatic and less Harry Potter-y.
The Wonder of Cysts: How Brine Shrimp Reproduce
Now, let’s explore the wonder of brine shrimp reproduction. The adults lay tiny eggs called cysts – their equivalent of “Babies on Board”. These cysts are extremely resilient, enabling them to survive in unfavorable conditions and hatch when conditions become favorable again. Imagine being able to postpone coming into a world that’s not shopper-ready. Handy, right?
With a basic understanding of the brine shrimp life cycle, you’re well-equipped to begin your aquarist adventure. It’s time for the next step – sourcing quality brine shrimp eggs. You wouldn’t want to hatch the aquarist version of a bad egg now, would you? Buckle up, as this journey goes deeper into the briny depths of shrimp know-how.
Sourcing Quality Brine Shrimp Eggs
Sourcing high-quality brine shrimp eggs is like finding a shiny, golden egg in a video game. It’s a crucial mission that can totally level up your shrimp hatching game! Let’s unbox this egg-deal mystery and set you on course for some A-class shrimp farming.
Choosing Reliable Suppliers
You’ve probably heard the phrase ‘Don’t put all your eggs in one basket’. However, when it comes to sourcing brine shrimp eggs, this advice might not be entirely applicable. Focusing on a single, dependable supplier can often be the best approach, especially if they are specialists in aquaria and aquaculture products. A key metric to consider is their ‘hatchability percentage’. Simply put, the higher this percentage, the better. Ideally, you’d want a supplier boasting a hatchability rate of 90% or more.
Recognizing Top-Quality Artemia Eggs
Spotting a high-quality brine shrimp egg is nothing like finding Waldo. You don’t need a magnifying glass or an overly striped character. You need eggs that are little, round and brown. They should also have dry and crisp shells. Be sure to buy eggs that are sold in sealed, airtight containers. This helps to maintain their long-term viability. When in doubt, remember this mantra: “Round, brown, crispy crown, sealed ’em down, quality found!”
Now that we’ve hatched the mystery of sourcing eggs, let’s swim on to setting up your full-fledged hatchery. Prepare your goggles! It’s going to be one exciting dive.
Setting Up Your Hatchery
We’ve covered the life cycle of our salty buddies and how to select the best eggs. Now, let’s pop our human shell and dive into the exciting part – building our brine shrimp hatchery. Start warming up those DIY vibes!
Essential Tools for Hatching
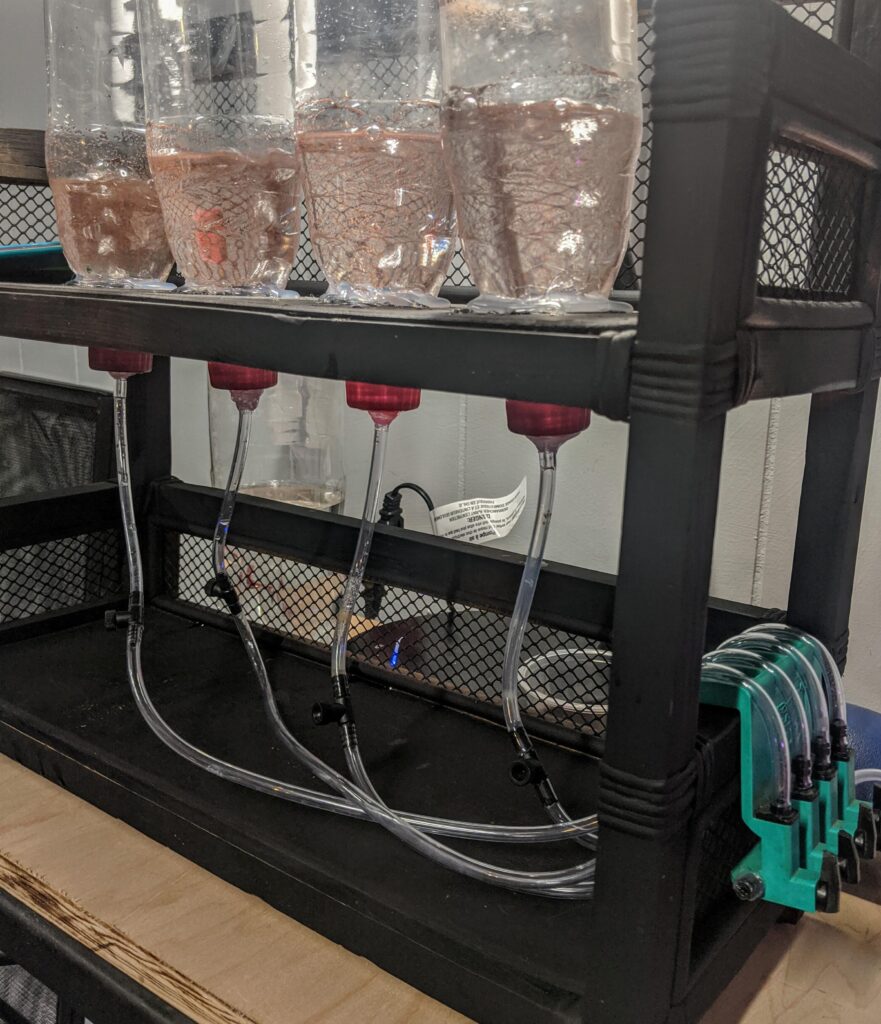
Welcome to the Brine Shrimp Tool Shed! Our toolbox isn’t complex. All you need is an airtight container (a glass jar, a plastic bottle, or even an empty aquarium). Pair that with a lamp or a small heater, an air pump for oxygen supply, some non-iodized salt, and voila – your toolkit is ready. You won’t even break a sweat setting this up!
Steps to Setting Up a Proper Hatchery
Roll up your sleeves, pardner, and let’s get handy. First, add water and salt to your container and stir until salt dissolves. Attach the air pump to keep water moving and oxygenated. Set the heater or lamp to a cozy 80-82 degree Fahrenheit (It’s shrimp bath-time!). Finally, add the eggs gently into the mix. Yup, you’ve built a home for your future brine shrimp army!
Creating the Perfect Hatchery Environment
Creating the ideal environment for your shrimp is like setting up a shrimp-BnB! Keep the tank dimly lit; too much light can fry our little guests. Ensure a warm, stable temperature for quick hatching. Continually aerate the water, so it’s bubbling like a nice, warm Jacuzzi. With these perks, your Brine shrimp will award you ‘Superhost’ in no time!
Life as a brine shrimp landlord is about to get real. Buckle up those bow ties as we wade through the thrilling process of hatching your very own brine shrimp.
On Your Marks, Get Set – Hatch!

What’s next on our brine shrimp road trip, you ask? It’s time to buckle up for the actual hatching process. Fasten your seatbelts, folks. It’s about to get real shrimpy in here.
Proper Preparation of the Eggs
The first step is to get those little shrimp eggs ready. It’s like cooking, but instead of a six-course meal, we’re making dinner for your fish! Here’s the catch – brine shrimp eggs need saline water to start hatching. A simple solution (pun intended) is to mix 1.5 tablespoons of non-iodized salt per quart of water. Voila! You just made yourself some shrimp-ready water.
Monitoring the Hatchery: What to Expect
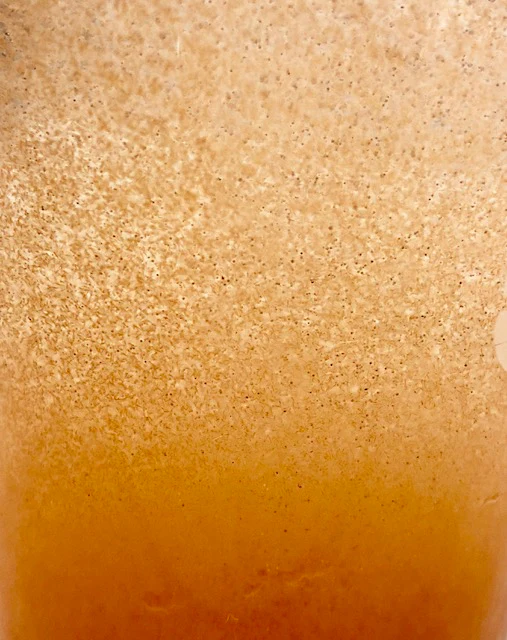
As an eager shrimp daddy (or momma), you’ll probably want to keep a close eye on your hatchery. Picture it like a soap opera – but with eggs. Keep the water temperature at around 77-86°F (25-30°C) and ensure it’s well-aired. The eggs start their hatching adventure in the water, float up and down a bit, then poof, baby brine shrimp!
Timeframe: When to Expect the Eggs to Hatch
Patience is a virtue, folks – especially when waiting for brine shrimp to hatch. If conditions are right, you can expect the shrimp parade to start within 24 to 36 hours. So, put on your waiting boots and stay tuned!
There’s something so magical about watching life emerge right before your eyes. But what do we do once they’ve hatched? What’s life like beyond the shell? Hang in there! Our next pit stop takes us into the world of after-hatch care.
After-Hatch Care
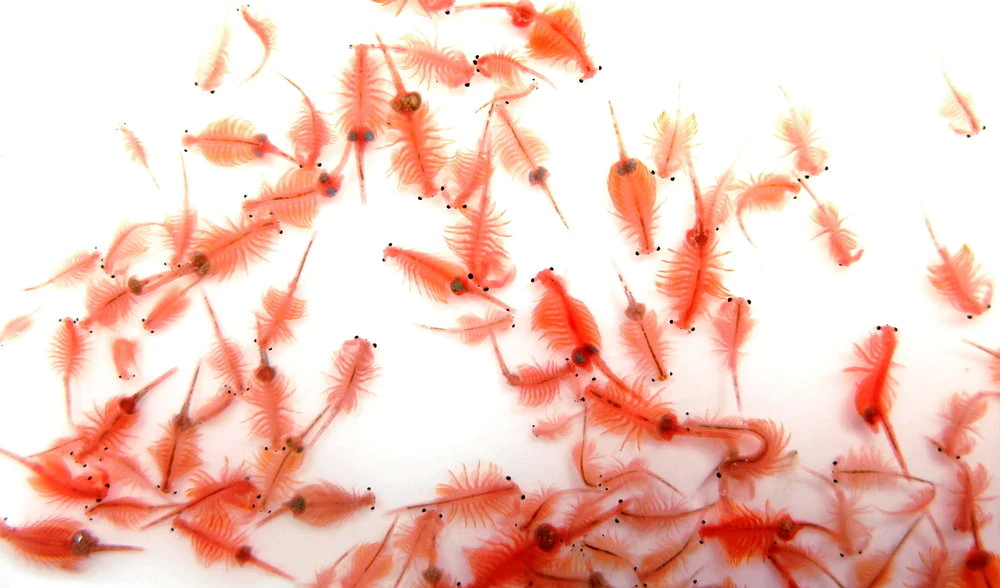
Congrats! Your adorable army of tiny brine shrimp are now wriggling about and it’s time for some TLC.
Feeding After Hatching
Isn’t it fun to watch your little shrimplets swimming about? But remember, fun comes with responsibility! These little guys have just had a giant growth spurt and are hungry. They’re not demanding though, just some algae or yeast is enough to make them happy. Feed them a pinch and watch your tiny shrimp celebrate! As time goes on, it’s always a good policy to stick to “little but often” feeding. Commandment of Shrimp, remember?
Heating Matters: Maintaining Optimal Temperature
Remember how you snuggle up in a cozy blanket during winter? Well, your baby shrimp need warmth too. Lucky for you, they don’t need fancy heaters. The ideal temperature for your tiniest tenants is around 25 to 30 degrees Celsius. But remember, too much sizzle isn’t good for your shrimpy. So, steer clear of cooking the water!
Handling Potential After-Hatch Problems
Now, mistakes are a part of life. And in shrimp keeping too, things may not always go as planned. Perhaps your hatch rate wasn’t as bountiful as expected, or the shrimp babies refuse to dine. Keep calm and consider making some tweaks to their environment. They might just need a different diet or a slight temperature adjustment. Rest assured, perseverance is key, and you’re doing a shrimply good job!
Now, that was all about caring for your baby brine shrimp right out of their shells. Up next, we will dive into the art of expanding your shrimp kingdom. Get ready to become the ultimate brine shrimp breeder!
Expanding Your Brine Shrimp Colony
Bravo! You’ve become a pro in hatching these fascinating, tiny sea creatures. But there’s looming perfection at the horizon. Time to level up your game. Let’s take a dive into how to multiply your colonization efforts like a pro fish-keeper on a shrimp mission!
When and How to Start a Second Hatchery
You’ve mastered the art of hatching brine shrimp, and now your one hatchery is brimming with brine beauty. But before you start popping cork, it’s time to think expansion.
So, when do we set up a second hatchery? When your first one begins to feel like a shrimp-y subway at peak hour.
Now, setting up a second hatchery is no rocket science. You replicate what you did for the first hatchery. The motto here is to score on safety, not speed. A healthy shrimp never appreciates haste.
Understanding Carrying Capacity: How Many Shrimp Is Too Many?
We know, ambition could be thrilling. But overzealousness? Not quite. Understanding carrying capacity is crucial to ensure each of your tiny swimmers has enough room to wiggle without bashing into its neighbor.
When it comes to the ideal shrimp per hatchery rule, I’d say “avoid overcrowding!” Ensure each hatchery houses a volume of shrimp that doesn’t hinder their comfort or growth.
Too many shrimp in the tank? Trouble alert! Muddy waters, unhappy shrimp, and eventually, you’ve got a shrimp revolt on your hands and who needs that in their life?
Alrighty, pal! You got this. You’ve breezed through this guide, and you’re now officially a brine shrimp hatching guru. And remember, brine shrimping ain’t no drudgery—it’s a journey of fascination and discovery, shimmering with tiny, sea-faring delight. Gosh, I do love a good shrimp story. Happy hatching!
To Sum Up
In conclusion, taking on the challenging yet rewarding journey of raising brine shrimp well involves understanding their complex life cycle from cysts to larvae, choosing a reputable supplier of high-quality eggs, effective set up of a suitable hatchery environment, as well as precise preparations to ensure a successful hatching process. Important post-hatch attention to feeding routines, heating needs, and potential issues is just as crucial in this expedition.
Moreover, contemplating when to start a second hatchery for further expansion of your brine shrimp colony is an interesting next step after mastering the hatchery and post-hatch care, keeping in mind the carrying capacity of each hatchery to prevent overcrowding. Like most endeavors, rearing brine shrimp is hands-on work that requires understanding, time, attention, and care. But with a fascination for these unique crustaceans and armed with this guide, you’re sure to hatch a plan that works!
Frequently Asked Questions (FAQ)
Question: What are brine shrimp and why should I care about them?
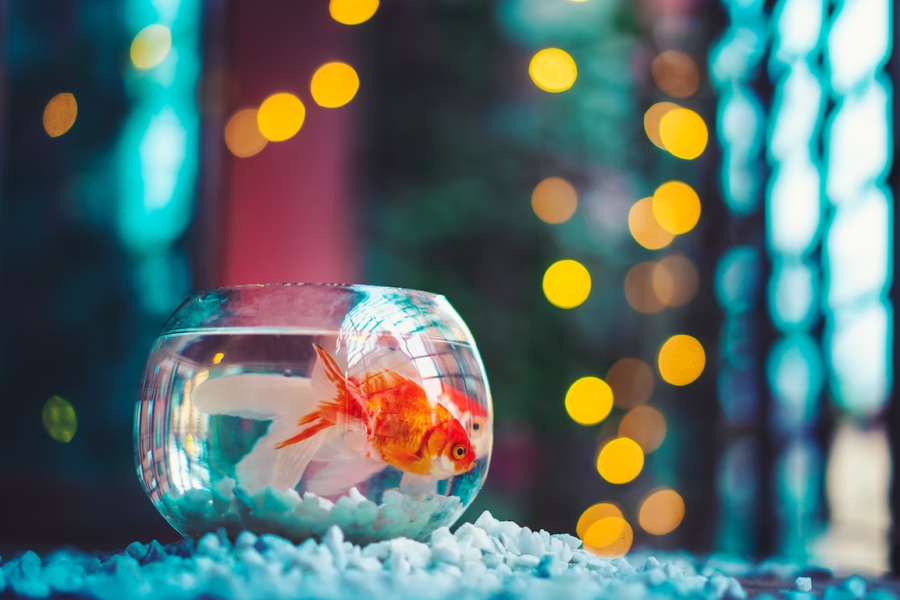
Answer: Brine shrimp are small aquatic crustaceans often used as food for various aquarium fish due to their high nutritional value. Hatching your own allows you to provide the freshest feed for your fish.
Question: How long does it take for brine shrimp eggs to hatch?
Answer: The hatching time for brine shrimp eggs typically ranges from 24 to 36 hours, depending on the temperature and saline conditions in your hatchery.
Question: How to differentiate between high and low quality brine shrimp eggs?
Answer: High-quality brine shrimp eggs have a greater hatch rate, will be more consistent in size and are usually packaged with a long expiry date while low-quality eggs will have a low hatch rate and inconsistent sizes.
Question: What’s the best temperature for hatching brine shrimp?
Answer: The sweet spot for hatching brine shrimp lies between 26-28 degrees Celsius (78-82 degrees Fahrenheit) – though they can hatch in a range from 18 to 30 degrees Celsius.
Question: Why am I encountering issues with my brine shrimp not hatching?
Answer: Some common issues can be faulty eggs, incorrect salinity of the water, inadequate lighting or temperature. Be sure to check these elements in your setup.
Question: Can I overpopulate my hatchery?
Answer: Absolutely! It’s vital to understand the carrying capacity concept to avoid overpopulation. Overcrowding can lead to depletion of vital resources which can lead to a decrease in their size and overall quality.
Question: What should I feed my newly hatched brine shrimp?
Answer: Newly hatched brine shrimp can be fed with specially made brine shrimp feed, yeast, wheat flour, soybean powder, or egg yolk.